Banana Icebox Cake is a delightful no-bake dessert that offers the perfect blend of creamy, fruity, and crunchy textures. This dessert is a favorite for its ease of preparation and its ability to impress at any gathering, from casual family dinners to more festive occasions. The layers of smooth banana cream, light whipped topping, and crisp graham crackers come together to create a symphony of flavors that tantalize the taste buds. What sets this cake apart is its simplicity in preparation, requiring no oven time, making it an ideal choice for those warm months when turning on the oven is less appealing.
The process of making this icebox cake is as enjoyable as eating it. Starting with a base of graham crackers, each layer is meticulously added, alternating between the rich banana cream mixture and more graham crackers, culminating in a fluffy whipped topping that seals the deal. As the cake sits in the refrigerator, the magic happens. The graham crackers absorb the moisture from the banana cream and whipped topping, softening to a cake-like texture that melts in your mouth. This transformation not only contributes to the cake’s delectable taste but also to its intriguing texture, making every bite a delightful experience.
Moreover, the versatility of the Banana Icebox Cake allows for creative twists and personal touches. Whether it’s incorporating slices of fresh bananas between layers for an extra fruitiness or garnishing the top with crushed graham crackers for added crunch, there’s room to make this recipe your own. The cake’s no-fuss storage and the option to serve it slightly frozen offer an added convenience, ensuring it can be enjoyed at its best anytime. Whether you’re a seasoned baker or a novice in the kitchen, this recipe promises a foolproof path to a dessert that’s as satisfying to make as it is to savor.
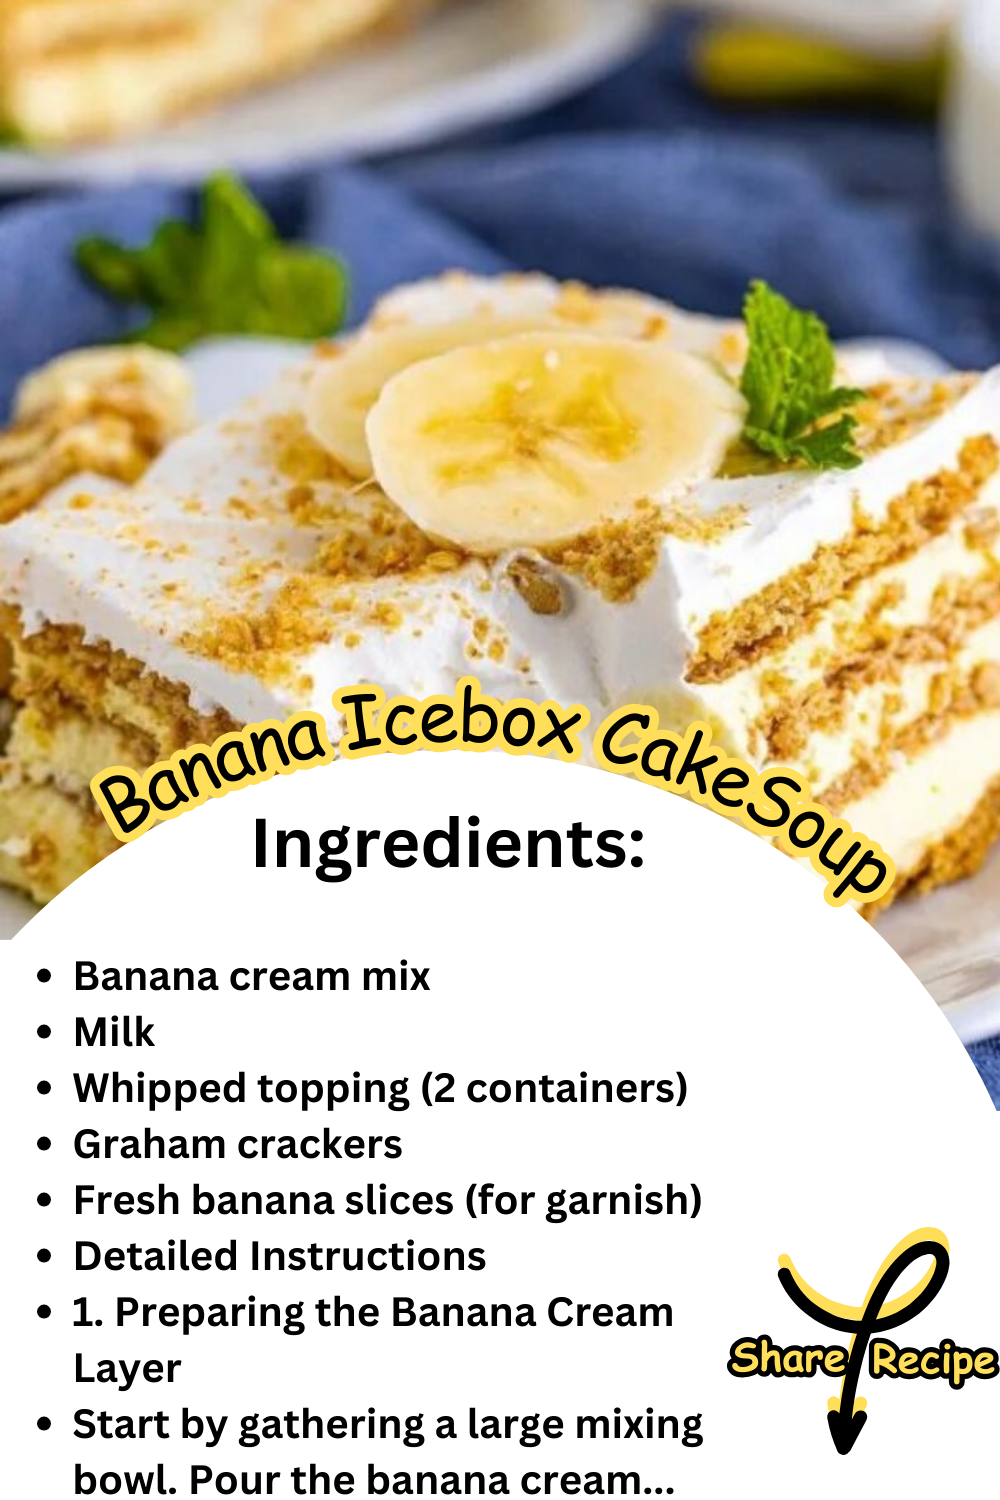
Ingredients
- Banana cream mix
- Milk
- Whipped topping (2 containers)
- Graham crackers
- Fresh banana slices (for garnish)
Detailed Instructions
1. Preparing the Banana Cream Layer
- Start by gathering a large mixing bowl. Pour the banana cream mix into the bowl, followed by the specified amount of milk. Using a whisk, blend these ingredients together until they’re well combined.
- Continue whisking vigorously for about a minute until the mixture begins to thicken noticeably. This process is crucial as it ensures the pudding layer sets properly, giving the cake its signature creamy texture.
- Once thickened, gently fold in one container of whipped topping. Folding involves using a spatula to slice through the mixture, then gently turning it over, repeating this motion until the whipped topping is evenly incorporated. This step adds lightness and airiness to the pudding mixture, enhancing the cake’s overall texture.
2. Layering the Cake
- Select a 9×13 inch baking dish for assembling the cake. Begin by arranging a layer of graham crackers at the bottom of the dish. You might need to break some crackers to ensure the entire bottom is covered without significant gaps.
- Over this layer of graham crackers, spread one-third of the prepared banana pudding mixture. Use a spatula or the back of a spoon to spread the mixture evenly across the crackers.
- Repeat this layering process two more times, ensuring you end with a layer of graham crackers on top. It’s okay if you have a few graham crackers or pieces left over; these can be crushed and used for garnish later.
3. Finishing Touches
- Take the second container of whipped topping and spread it evenly over the top layer of graham crackers. Ensure no parts of the crackers are exposed. This step seals the layers and helps to keep the crackers moist.
- Cover the baking dish with plastic wrap and refrigerate. It’s essential to allow the cake to sit for at least 6 hours, or preferably overnight. This waiting period lets the pudding mixture fully set, and the graham crackers soften, transforming into a cake-like texture.
4. Garnishing and Serving
- Before serving, sprinkle the top with crushed graham crackers left over from the layering process for added texture. If desired, add fresh banana slices for a decorative and flavorful touch.
- For a clean slice, use a sharp knife warmed under hot water and then dried. This trick helps the knife to smoothly cut through the layers.
Storage and Tips
- To Store: Keep the icebox cake refrigerated, covered with plastic wrap, to maintain its freshness. It can be stored this way for up to 4 days.
- To Freeze: This cake can also be frozen for up to 3 months. Enjoy it slightly thawed for a delightful frosty treat.
- Tips: Ensure the bananas used for garnish are ripe for the best flavor and texture. An offset spatula can greatly ease the layer smoothing process, providing a professional finish to your dessert.
Variations
- Flavor Twists: Consider adding a layer of sliced bananas between the graham crackers and pudding layers for an extra burst of banana flavor.
- Whipped Cream: For an even richer taste, you can use homemade whipped cream in place of store-bought whipped topping.
- Chocolate Chips: Sprinkle mini chocolate chips between layers or on top for a chocolatey crunch.
This expanded version of the Banana Icebox Cake recipe provides a thorough guide to creating a dessert that’s not only delicious but also visually appealing and perfect for storing. Enjoy your dessert-making process and the delightful treat that follows!
Leave a Comment